How to Assemble a Long‑Lasting, Thriving Terrarium
- Terra Tamar
- Feb 7
- 3 min read

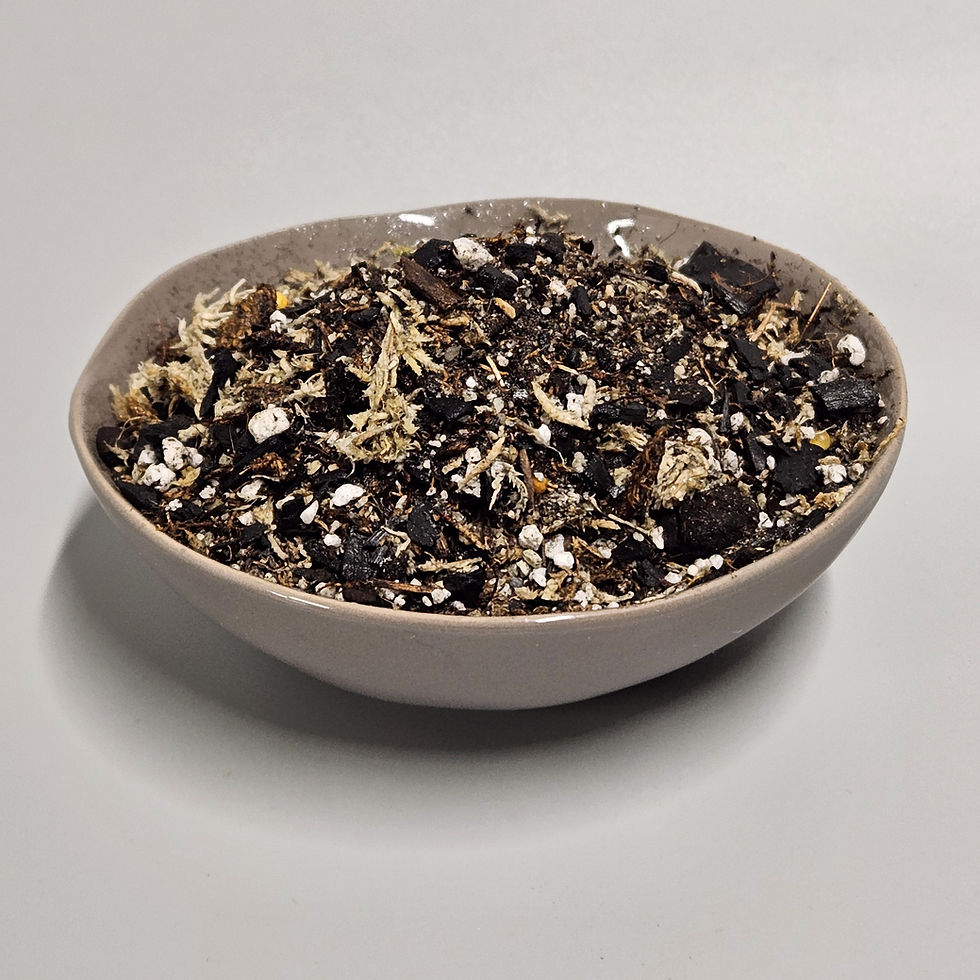
After you’ve mixed your soil, it’s time to build the terrarium. Years of practice (and a few mistakes) taught me that simplicity and precision matter more than the height of each layer. Each layer has a job, and more is not necessarily better.
Drainage Layer
The drainage layer’s sole purpose is to create permanent air space so excess water has somewhere to go. It doesn’t “drain” water out; it keeps water away from plant roots. Use small lava stones, pea gravel, LECA, crushed granite or small river stones. I like pea gravel or small lava rocks in small terrariums and bigger lava rocks in larger vessels. This layer should be minimal -you don’t need it to take up a third of the vessel’s height - the terrarium stars are the plants, and pebbles aren't as pretty.
Avoid: sand (compacts and eliminates air pockets), pot shards (create unpredictable gaps), and glass beads or marbles (smooth surfaces impede oxygen exchange and attract algae). If the material stacks too neatly, it usually drains poorly.
Thickness guidelines:
Terrarium size | Drainage layer |
Small (< 6 inches) | ½ inch (1–1.5 cm) |
Medium (6–10 inches) | ¾–1¼ inches (2–3 cm) |
Large (> 10 inches) | 1¼–2 inches (3–5 cm) |
More is not better. Precision is.
Mesh Divider
Place an inert mesh (I use material meant for bridal veils) over the drainage layer. It should reach the edges of the glass so no soil slips through. Try to cut the mesh in the exact diameter of your vessel, so it won't be seen after the soil is added.
Soil Layer
The soil should be only as thick as it needs to be to support roots and provide stability. You’re building the terrarium for the plants, not the soil, so leave as much space for foliage as possible. The soil anchors the plants and acts as a buffer: it should absorb small over‑watering mistakes and release moisture slowly rather than behaving like a sponge.
Potting soil topper: I sprinkle a thin layer of pure potting soil on top of the terrarium mix because it looks nicer and covers sphagnum moss, which can become a substrate for fungi if left exposed. Avoid potting soil infested with fungus gnats.
Watering the Soil
Water slowly and intentionally. Too much water is hard to remove in a closed container. Add water, close the terrarium, and give it a day for moisture to spread evenly. If you over‑water, wipe the glass and leave it open for a day. A general guideline is 2–3 tablespoons per cup of dry soil. Adjust with a teaspoon at a time.
The soil should:
Clump lightly when squeezed,
Fall apart when poked,
Release no water when squeezed.
If water drips out, it’s too wet; if it stays dusty, it’s too dry. Texture matters more than exact numbers because different mixes absorb moisture differently.
Why Less Is Better in Terrariums
You can always add water later.
Excess water has nowhere to escape in a closed system.
Over‑wet soil leads to compaction, anaerobic pockets, and mold.
In sealed terrariums, the soil should start slightly drier than you think.
TerraTamar Principle
Soil should be hydrated enough to support life, but restrained enough to preserve balance. In terrariums, moisture is adjusted over time, not front‑loaded. Add little by little, observe, and adjust.
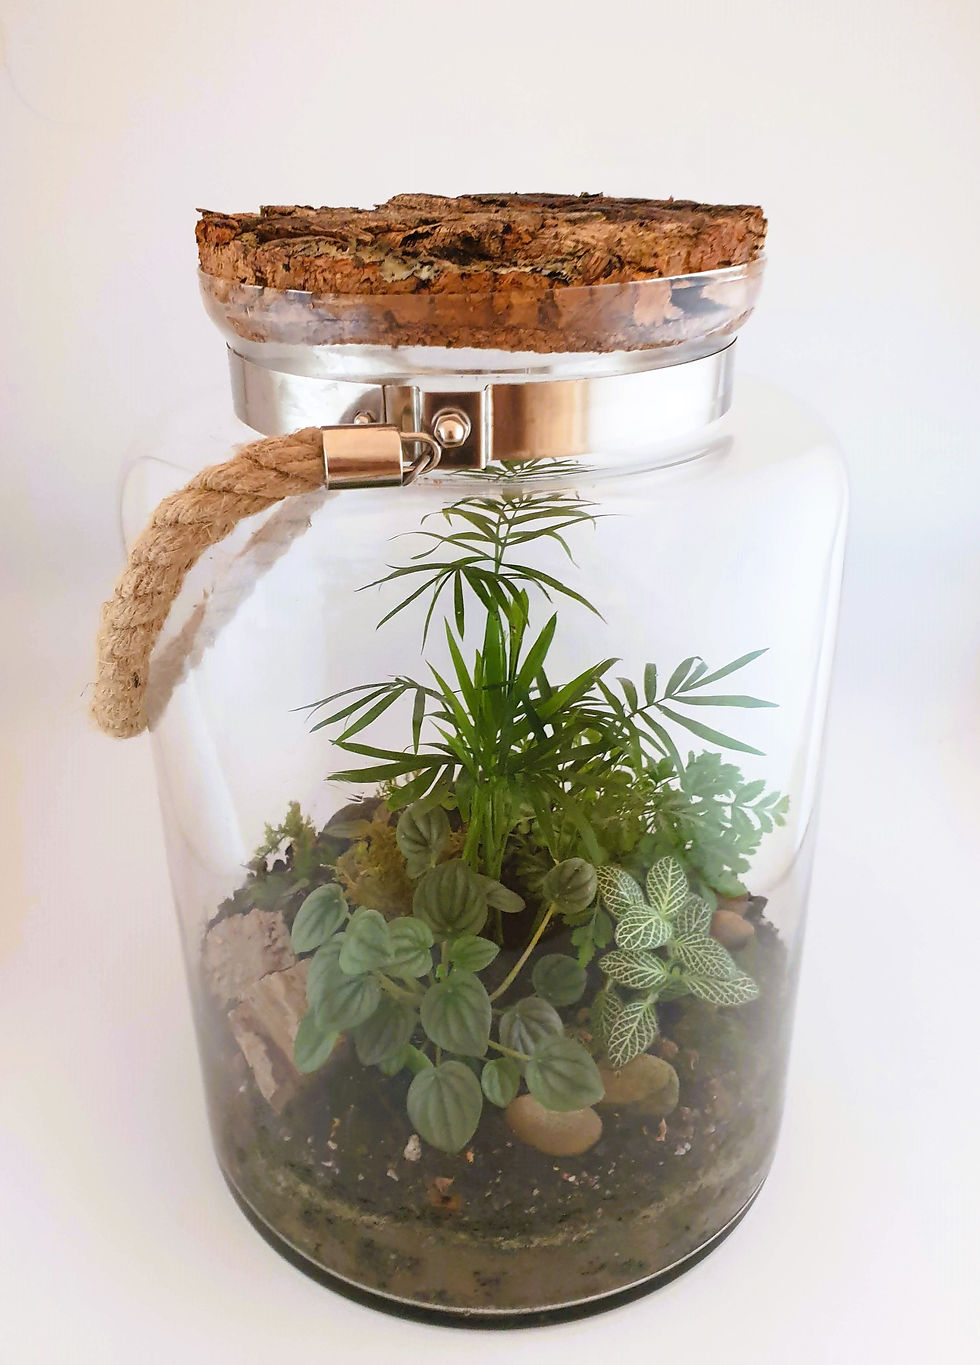
Visual Guide to Layering
Here’s a simple diagram showing how I stack the layers inside a terrarium. From bottom to top you’ll see the drainage pebbles, a mesh separator, the soil mix and a thin top layer of potting soil:

Comments